 Go to Wiki
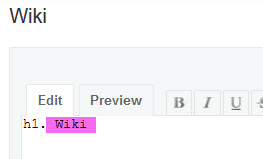
- Replace Wiki with what you want to rename your wiki to, for example h1. WebbPlatsen Wiki and Save.
- Now just add your texts, pictures, subpages, tables, links, table of contents etc.
Create a sub-page
- Go to the page of your wiki that you want to create a subpage for and select Edit.
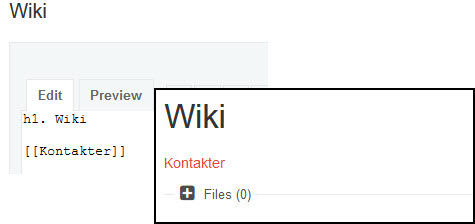
- Click the symbol to create a link in the toolbar and you will get two brackets in the text box.
- Enter the title of the page you want to create within them.
In the example we want to create a subpage with contacts and therefore write [[Contacts]]
You are allowed to use spaces in titles on the pages you create.
 Add a picture
- Click Browse Files to upload the image.
- If desired, write a description for the image.
- Save.
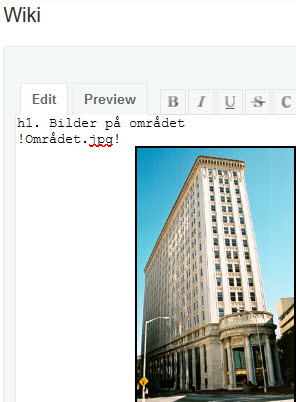
To view the image in the text, go to Edit.
In the example, we want to show an image of our housing area and enter the image’s file name (including the file extension .jpg) within two exclamation points in the text box, eg !Området.jpg!
More ways to display image in wiki
- !>image_filename! – image aligned to the right
- !image_filename(titel)! – displays a caption when the cursor is over the image
- !image_filename!:URL – link the image to a web page
Link to another wiki page
- Click the symbol to create a link in the toolbar and you will get two brackets in the text box.
- Enter the title of the page you want to link to, for example [[Contacts]]
Link a word in the text to another wiki page
- [[Contacts|Address book]] – the word Address Book appears in the wiki and is linked to the Contacts page
Link to a website
- Website addresses become links automatically.
- For example, if a text is to be linked to a website, type “Project tool “:https://www.xsentioredmine.com/
Then only the words Project Tools appears.
Link to something else within your account
Wiki Links
[[The projects name:The name of the wiki page]] – link to a wiki page in another project
[[The projects name]] – link to a wiki’s main page in another project
Documents
document:”The name of the document” – link to a document*
The projects name:”The name of the document” – link to a document in another project*
Versions / phases
version:”Name of the version” – link to a version*
The projects name:”Name of the version” – link to a version in another project*
Forum
forum:”Name of the forum” – link to a forum*
News
news:”The title of the news” – link to the news*
Another project
project:”The name of the other project” – link to another project*
* if the title consists only of one word, no quotation marks are needed
Create lists
- Numbered lists are created with hash tags (#)
- Bullet lists are created with asterisk (*)
Create table
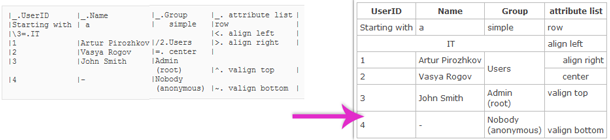
You create a table using vertical bars (|).
See below examples of different modifications of a table.
Create a table of contents
 To create a table of contents of all texts on a page, enter {{toc}} at the top of the page, under your main heading h1. Then a table of contents is automatically created based on all the headings in all levels, ie h2, h3, h4 etc. that are on the page.
NOTE! There must be a blank line before and after {{toc}}.
- {{toc}} – left-hand table of contents
- {{>toc}} – right-hand table of contents